Last week on the NSP blog we shared about our experience at the Macedonia Hills Weddings and Event Center’s open house. Click here to check that out 🙂
This week I wanted to share about the process we used to refinish the piece of furniture that we used for our booth! I have refinished some furniture pieces before but this one was a little bit more involved than previous pieces as I was on a tight deadline and stripped paint for the first time! I am going to walk you through our step by step process below.
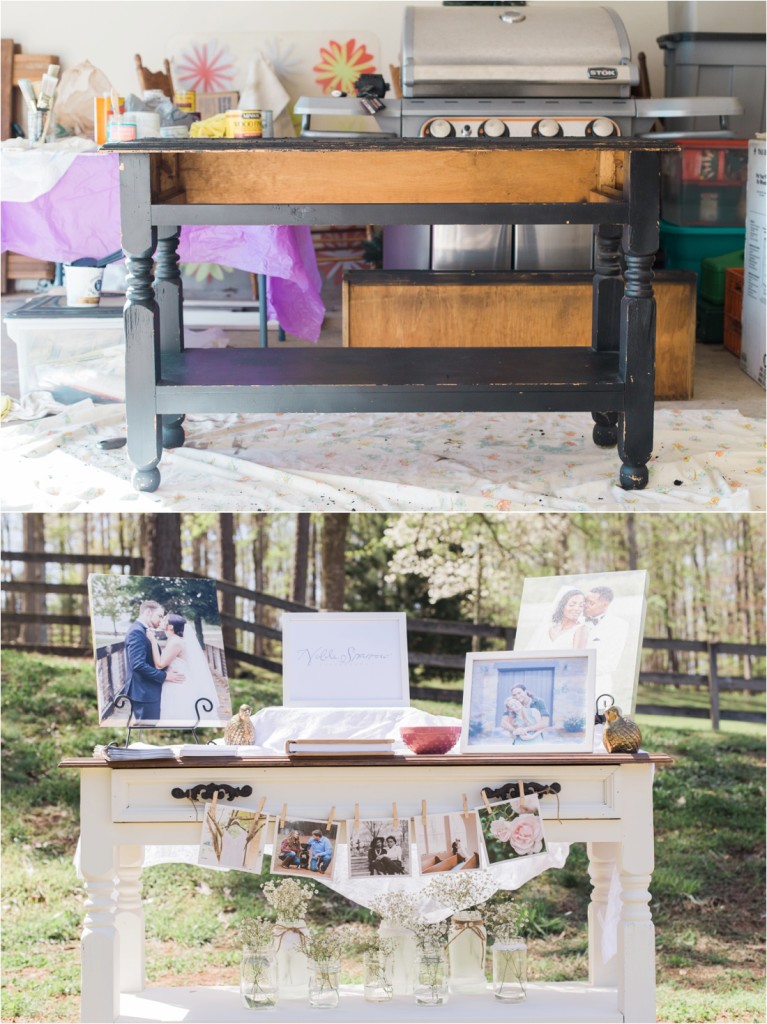
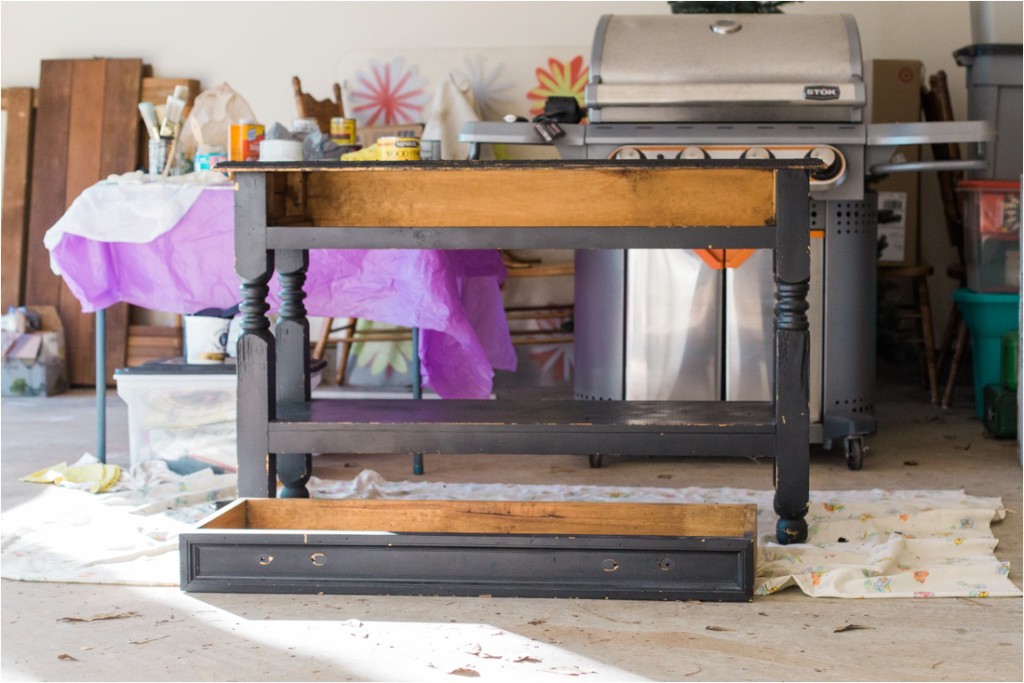
Here you can see the table that we started with. This piece was given to use when we first got married (3 years ago!) and I have been wanting to refinish it ever since. Now that we live in a house and have a garage, we actually have a nice workspace to use! But I also knew that I wanted to use this table as part of our display for the open house…there is nothing like a deadline to get working on a project that you have been putting off! I wish I had taken a better “before photo” but I was so ready to get started, I kind of forgot that step!
Here are the tools that I used to get the finished look. I am not being paid to promote these products, these are just the ones that I picked out at Home Depot and I was pretty happy with how everything came out! But the first thing you need before you get started is a Vision. Once you have that taken care of, you can work on gathering the necessary tools you need to make your vision come to life. I knew that I wanted a rustic looking, wood stained top, and have the rest of the piece an off white/cream color. I used this post as my inspiration (thanks Rooms for Rent!) and I am really pleased with the outcome.
Pre Step: Gather Your Tools
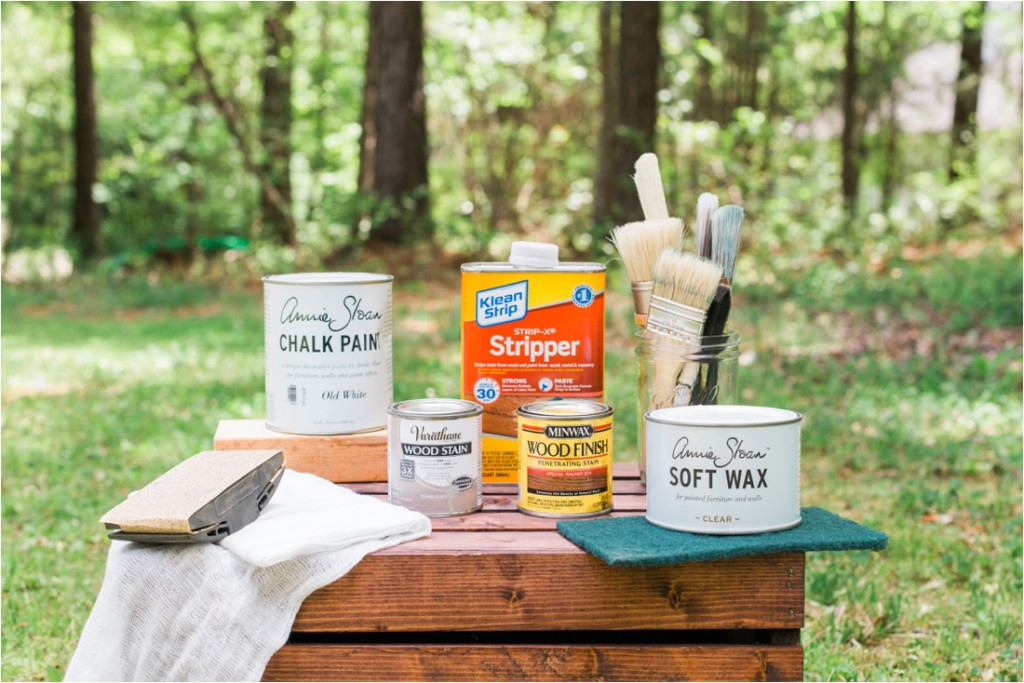
Tools Used:
Minwax Special Walnut Stain
Varathane Sunbleached Stain
Annie Sloan Old White Paint
Klean Strip Strip X Stripper
Plastic Stripper Tool
Stripping Pad
Chemical Safe Gloves
Paint Brush
Old T-Shirt
Wax Brush
Cheesecloth
Screwdriver
Hobby Lobby Drawer Pulls
Step 1: Strip Down the Top
To be honest with you, I have never stripped a piece of furniture before…and I don’t plan to do much more of that in the future! It was a harder and longer process than I thought it would be. I am no expert at this so there might have been an easier way, but I used a combination of stripping, then sanding, stripping and then more sanding. Bence chipped in at the end because my hand was cramping up a bit (those little nooks and crannies on the side were hard to strip!) We got it down as close as we could to the raw wood, but there was still some black in the wood which I am glad stayed stuck in there! I love how the paint and stain create a really interesting look on the top that I don’t think I could have achieved if I was working with perfect raw wood.
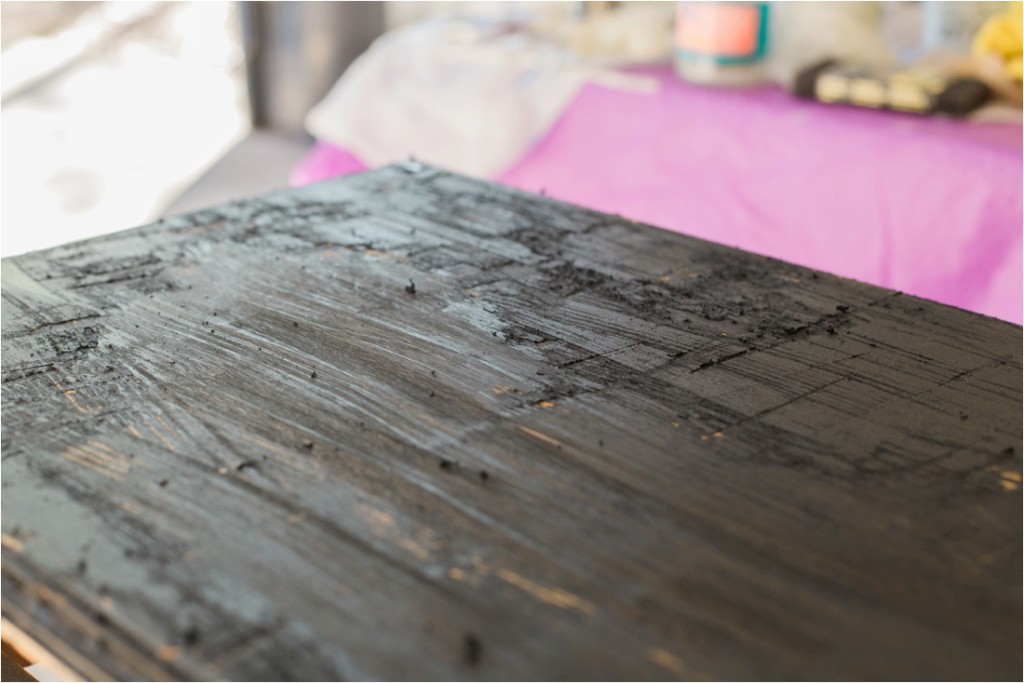
It was a difficult process, and this is how far we could get down to the raw wood. As you can see, there is still some black paint stuck in the crevices of the wood. We were so worn out by this process that we just left it there, but this ended up being a happy accident! Rubbing the stain over the wood with the paint still stuck on in some places gave a really nice rustic variation in the wood and we love it!
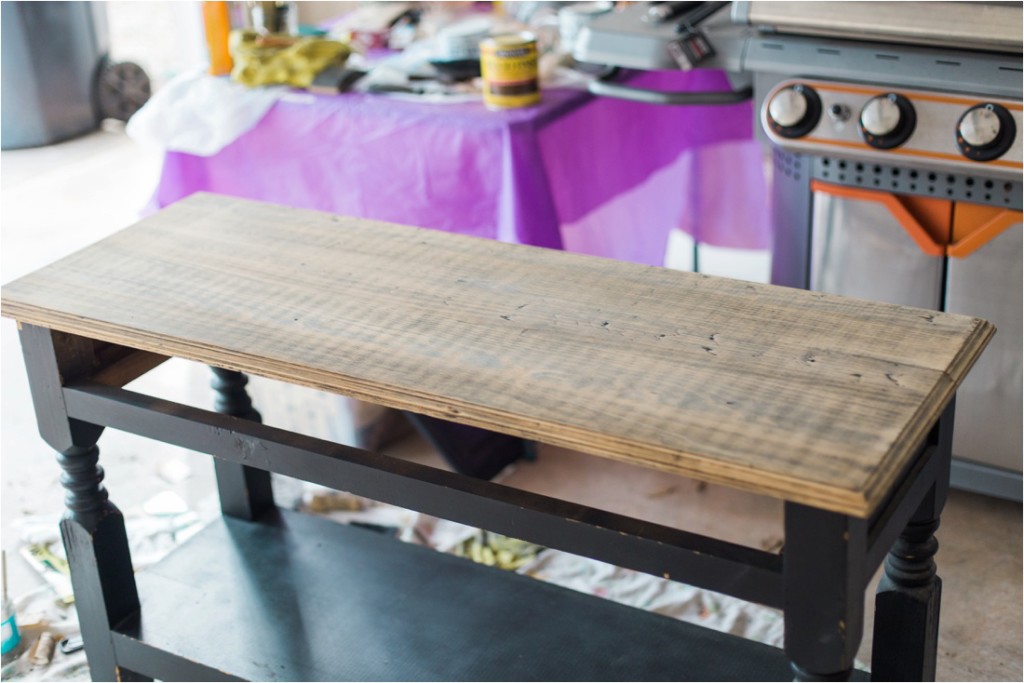
Step 2: Paint the First Coat of Chalk Paint
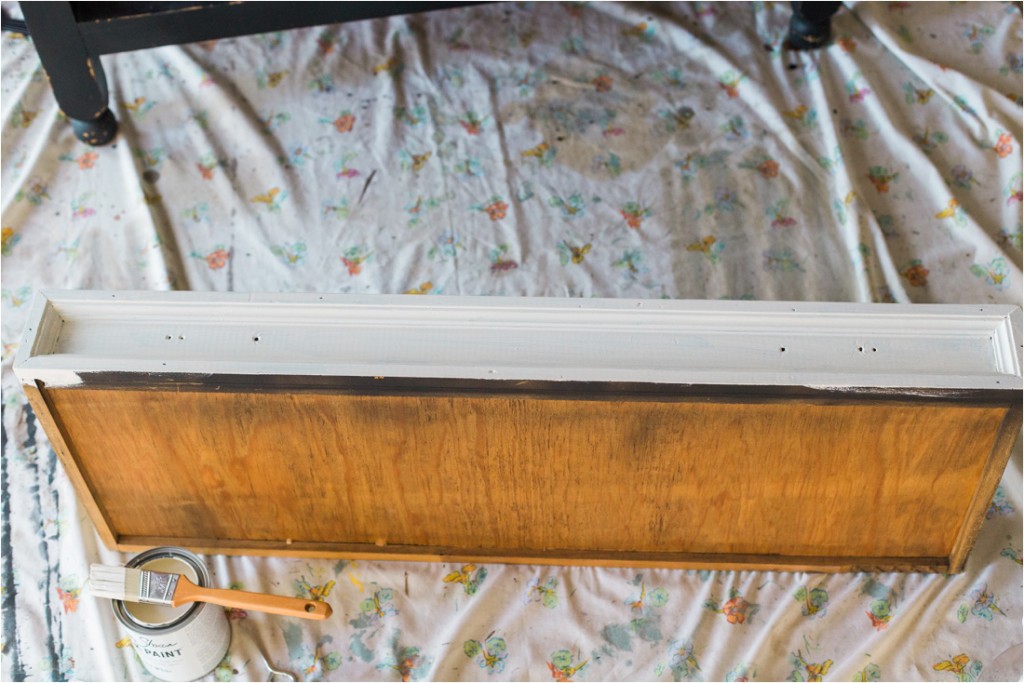
I painted the table using Annie Sloan Old White chalk paint. I have used this paint before and I can’t say enough good things about it. The best part is that you don’t have to stain or strip your piece before applying the paint. Just brush it right on over almost any surface! We have a really cute old main street close to our house with darling shops. I picked this paint up at a French decor store closeby. But you can find a supplier near you by going to the Annie Sloan website and typing in your zip code! To completely cover the black, it took two coats. This paint is thick and it goes a long way. I covered this table with two coats and didn’t even use half of the can!
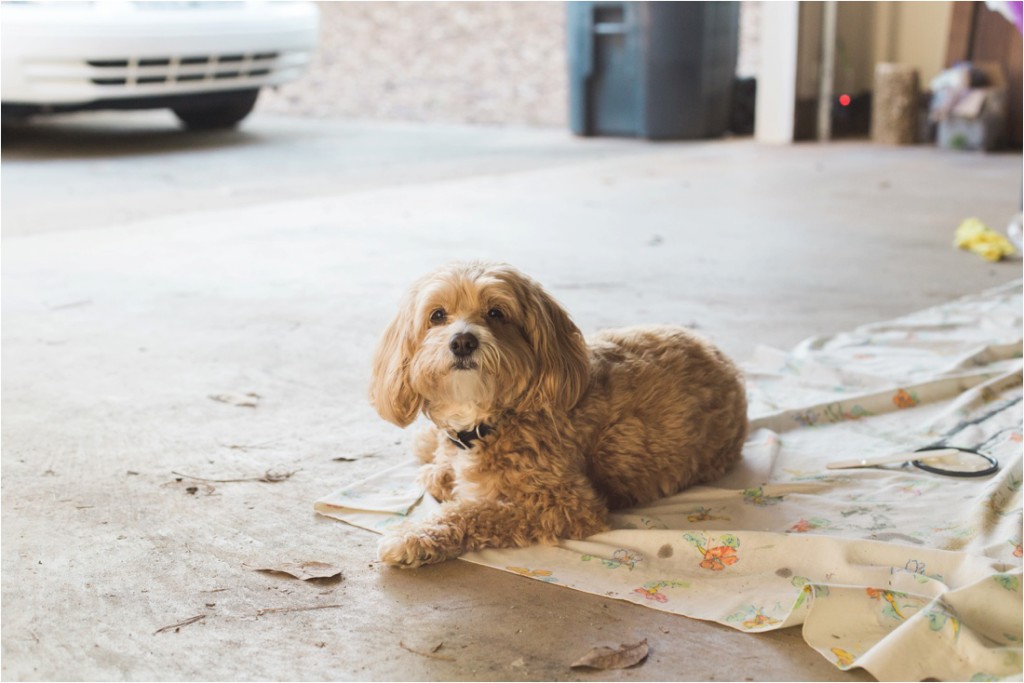
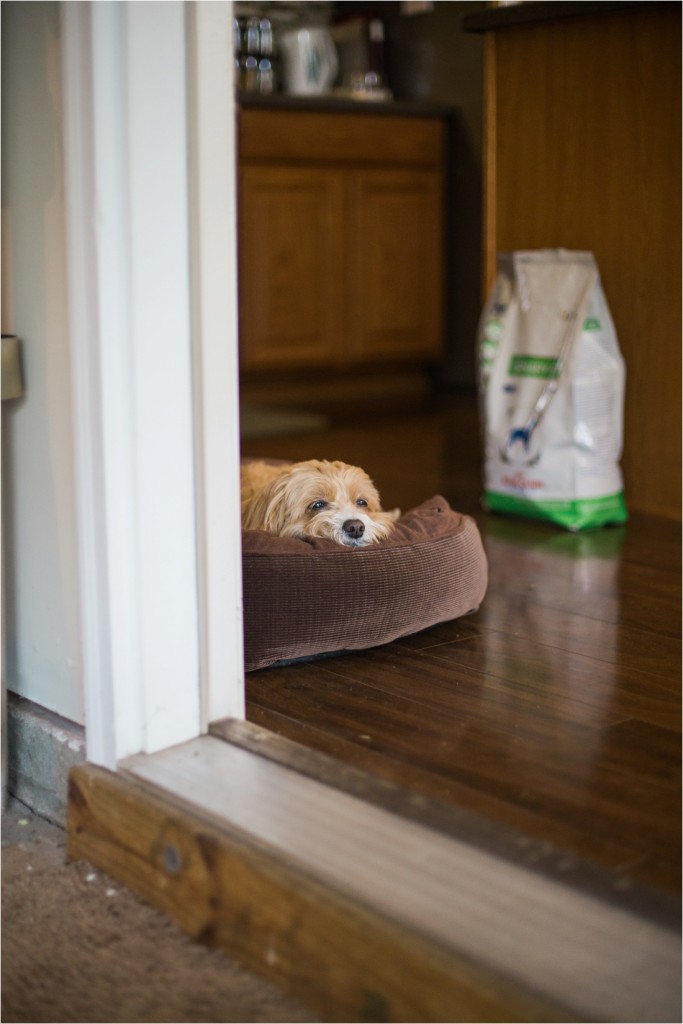
My cute little companion, Snickers <3
Step 3: Apply the First Coat of Stain – Special Walnut
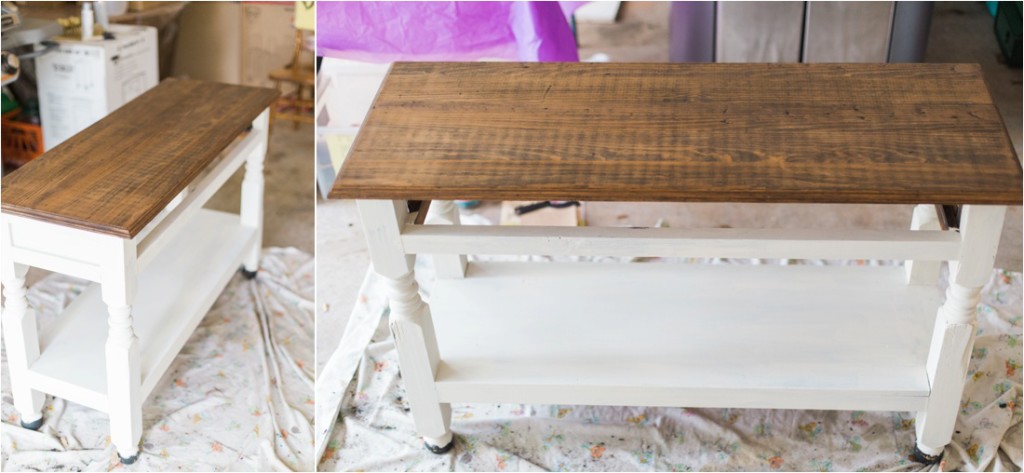
Using an old cut up t-shirt and working in sections, I rubbed on the MinWax Special Walnut over the top of the table. Once I wiped the stain over, I immediately wiped off the excess using a different part of the t-shirt and let it dry/cure overnight.
Step 4: Apply the Second Coat of Stain – Sunbleached
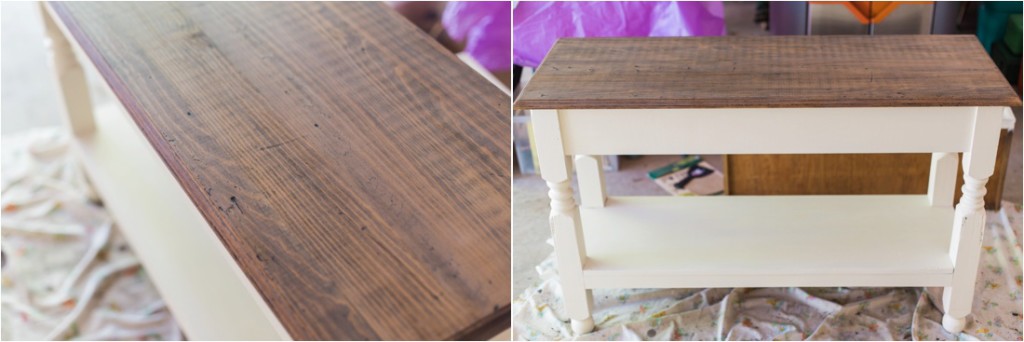
The next day I applied the second coat of paint, and used another piece of the cut up t-shirt to apply the Varathane Sunbleached stain. Working in sections, I applied a light coat of the stain and then immediately wiped off the excess. While the Special Walnut is a beautiful color stain, I decided to apply the Sunbleached to tone down the brown and give it more of a rustic, “Restoration Hardware” look. It’s a really nice grey/brown color and I am really happy with the outcome 🙂
Step 5: Add the New Hardware
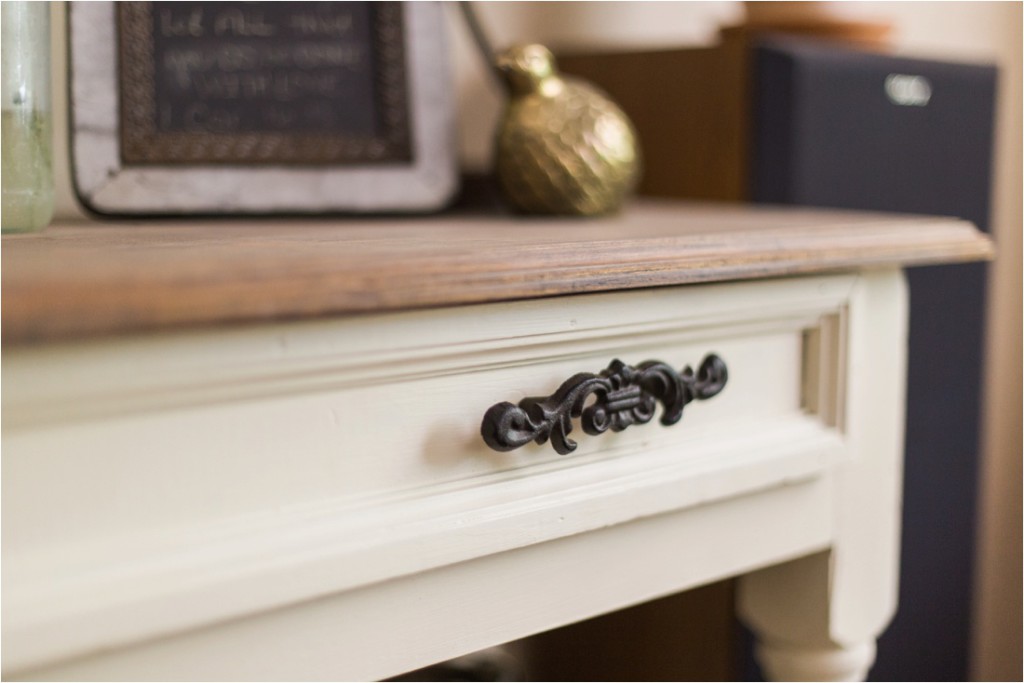
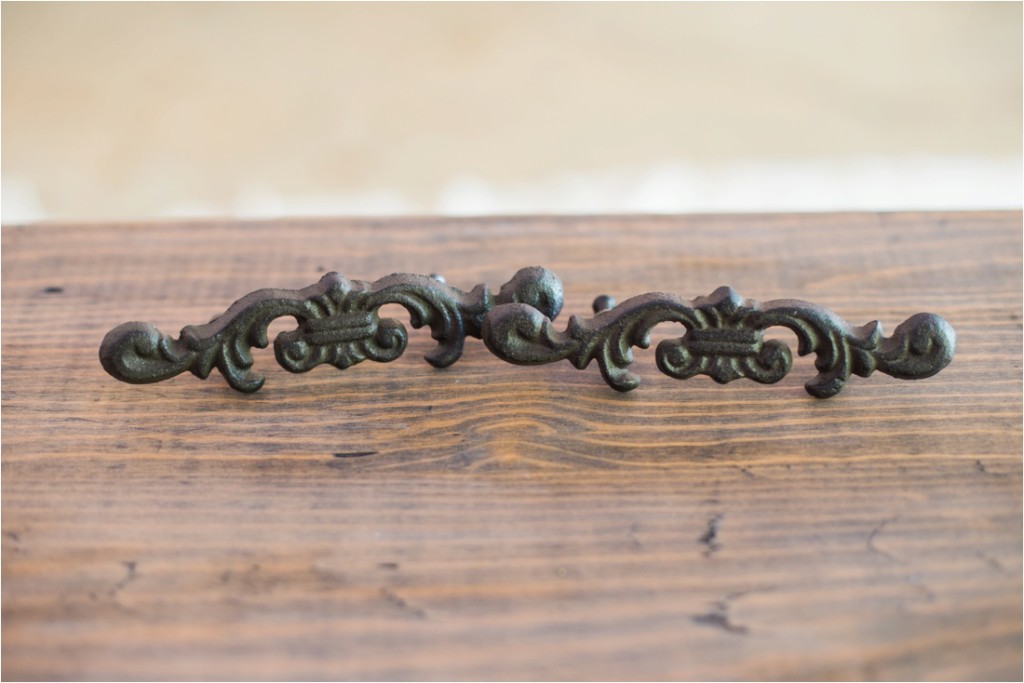
Another element that made a huge difference in this table makeover was replacing the hardware. I made a trip to Hobby Lobby and chose these cast iron handles. I think they fit really nice with the style and color of this table and I just love how something so small can make such a big impact on the overall feel of the piece!
She is seriously the cutest!
Step 6: Finishing Steps
Because I had to get this table ready in time for the open house, I didn’t have time to finish it completely. But a few final steps that I took to finish off the table was to do a light sanding over the top of the table to create more of an even tone, and wax the table to keep it from getting scratched. I decided not to distress this table by hand, but I did think about leaving off the wax so that it would get naturally scratched up and distress overtime. But in the end, I decided to wax it and leave it in it’s condition. One thing I will say about the chalk paint is that it is called “chalk” paint for a reason. It is very soft, and does get scratched easily. So if you don’t want it to distress naturally, I would suggest putting on at least two coats of wax. I opted for only one coat of wax and used the Annie Sloan Soft Wax for this project. I used a wax brush and worked in sections. I applied the wax with the wax brush, and then buffed it out using cheesecloth. On small pieces, I have used only the cheesecloth to both apply the wax and buff it out. But on this project I used the brush and the cloth for different aspects of the waxing process and it created a really nice light (not too glossy) protective sheen over the piece.
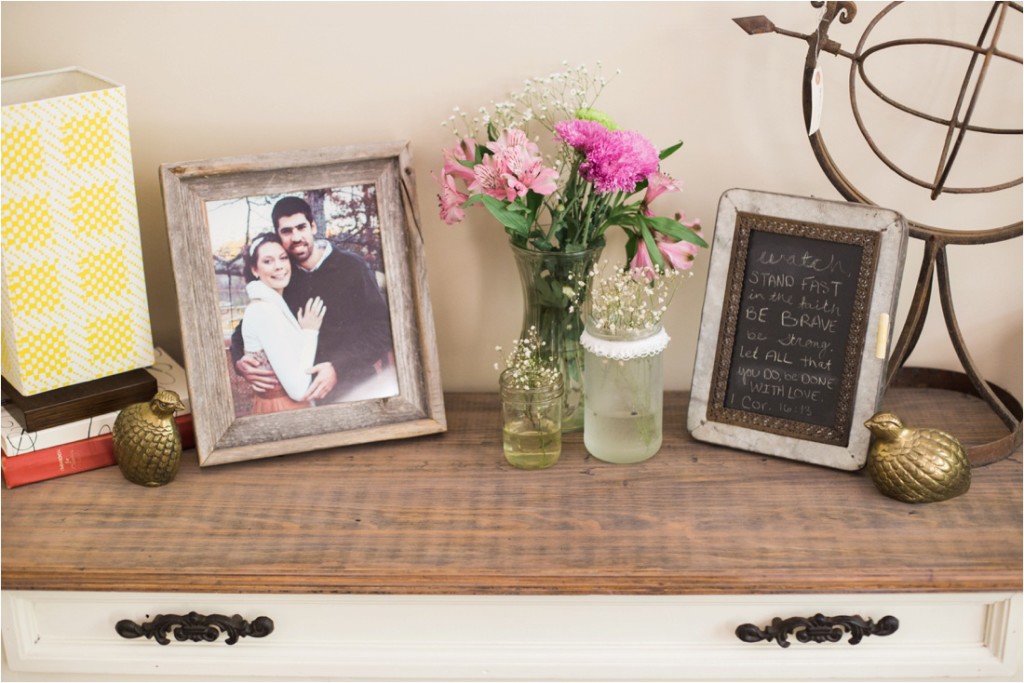
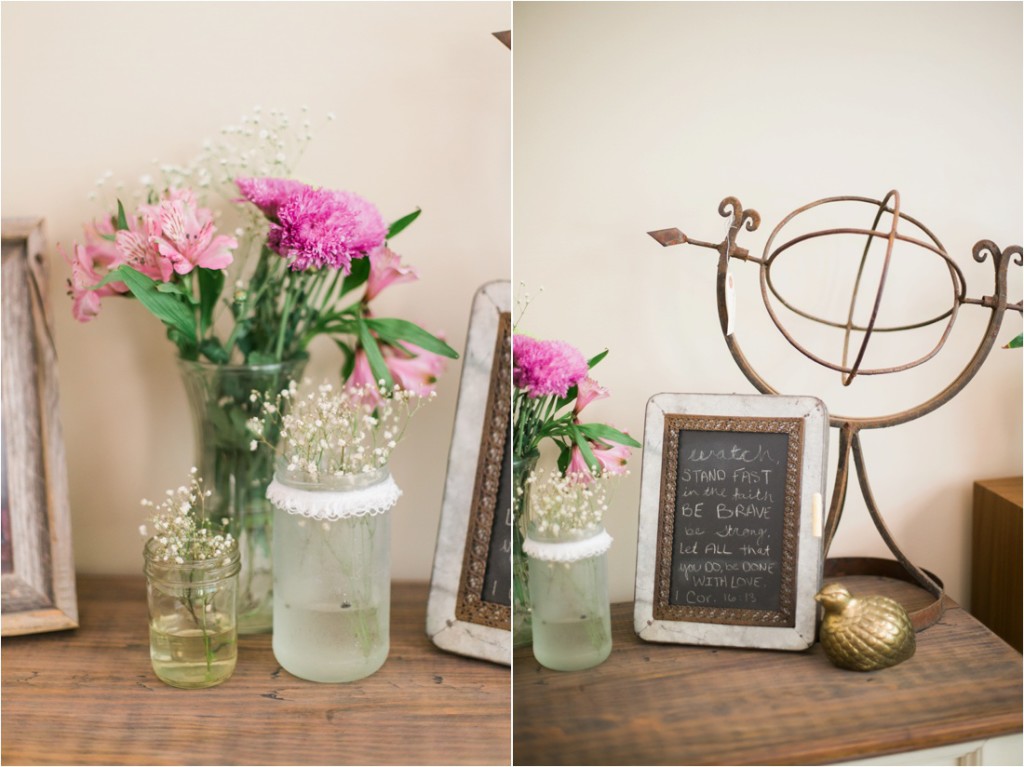
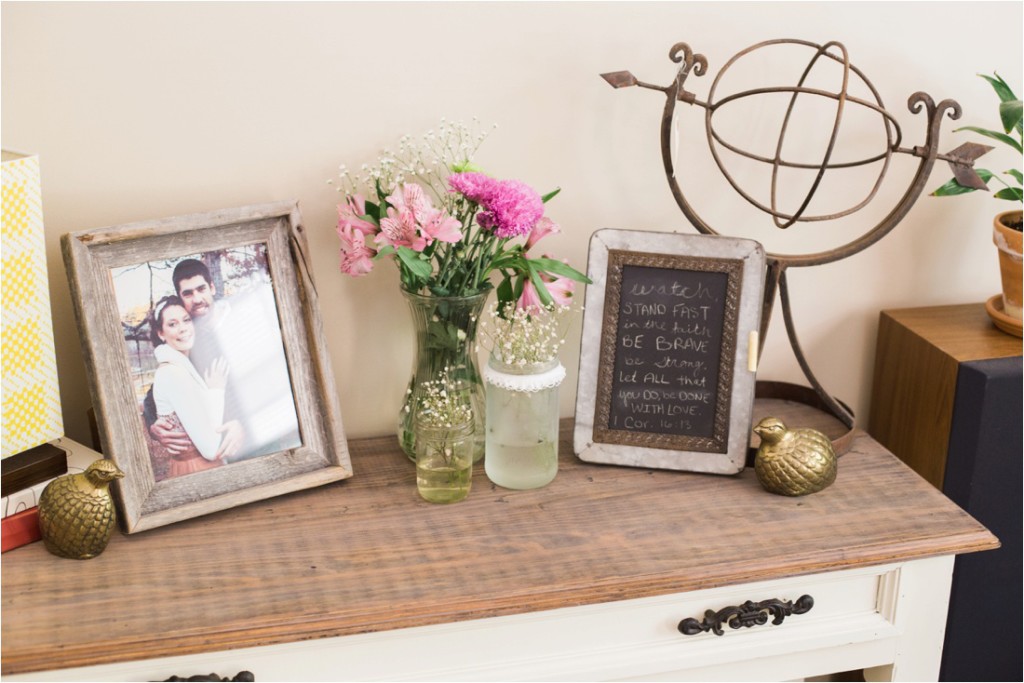
So there you go! Those were the steps I took and I have to say, I am really pleased with the outcome. It’s perfectly imperfect, with character that I couldn’t have created if I had tried to myself. It was the perfect table for displaying our photography at the open house and i’m looking forward to using it for future photoshoots or open houses 🙂 But for now, I will enjoy it in my living room <3
